Man Rips Apart His 396 Square Foot Garage And Creates An Awesome Apartment
Mikey McCartney wanted to upgrade his garage into a livable space and decided to convert the 396 square feet into an apartment. Without plumbing and electricity, the garage would need to be extensively remodeled so it would have all the modern conveniences (Internet) and amenities (bathroom and kitchen). The outside walls would also need to be completely reframed to add insulation, doors, air-conditioning and, of course, windows!
Mikey shared his photos and story with Reshareworthy.com. Check out the amazing results of all of Mike’s hard work!
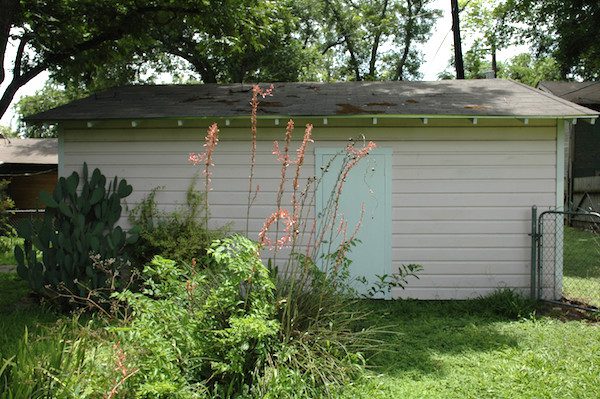
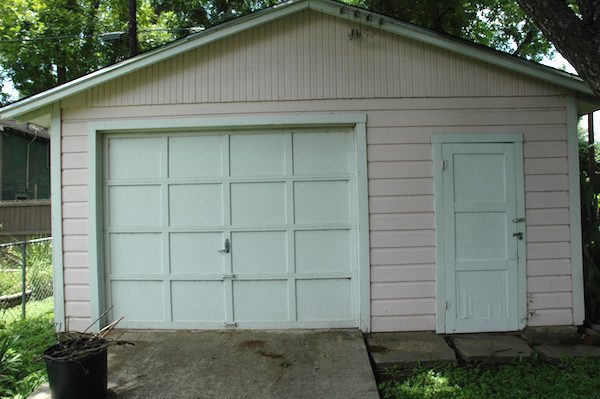
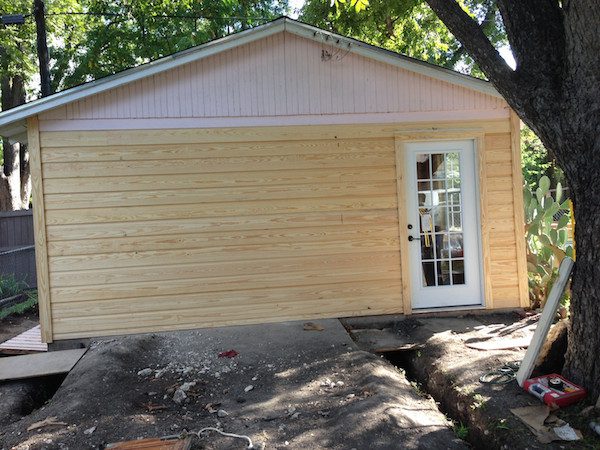
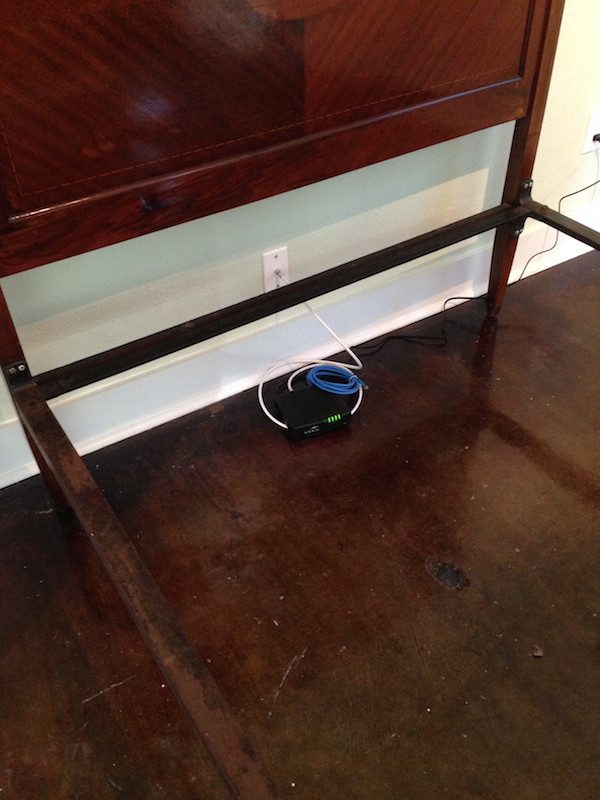
Here’s what the garage looked like before the renovations.
The garage first had to be completely gutted.
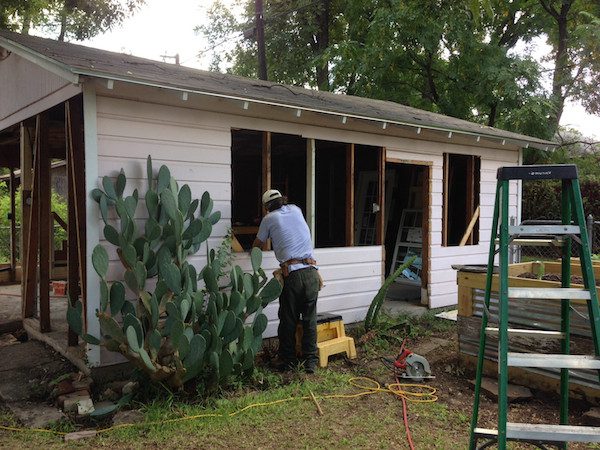
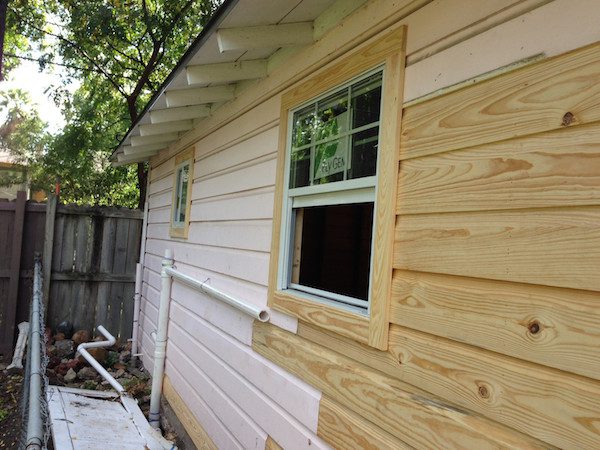
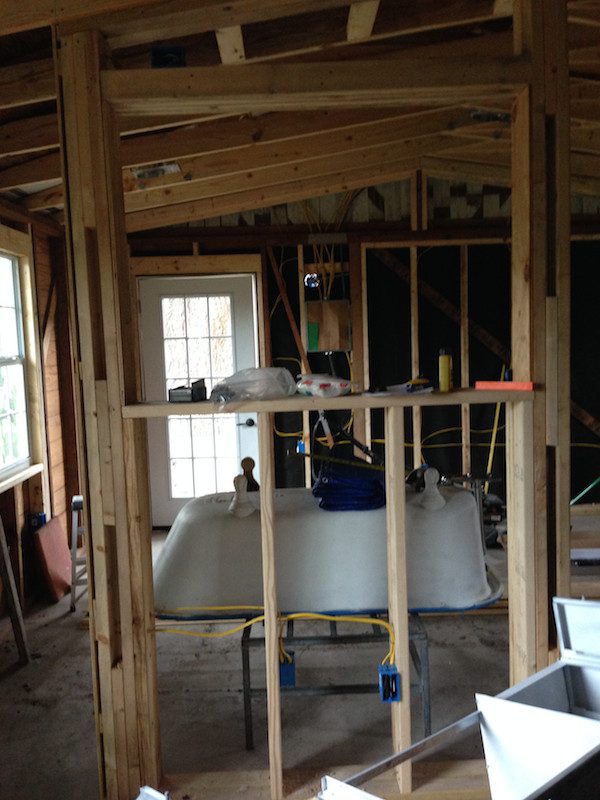
Here’s the framing for one of the exterior walls where windows, the air conditioning unit and door would be added.
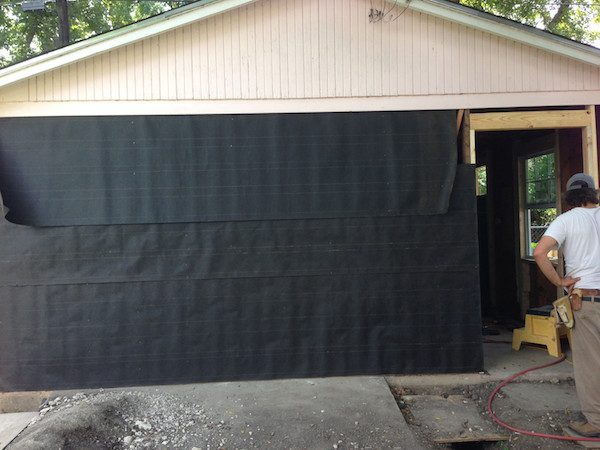
The garage door was removed and the original door was enlarged to a normal-sized door.
The pipes on the outside of the “wet wall” were added for proper venting. It had to be done this way because the 2×4 framing would not fit the pipe for the toilet. “It was also cheaper because I did not have to hire a roofer to come and run the pipe through the roof,” Mike explained.
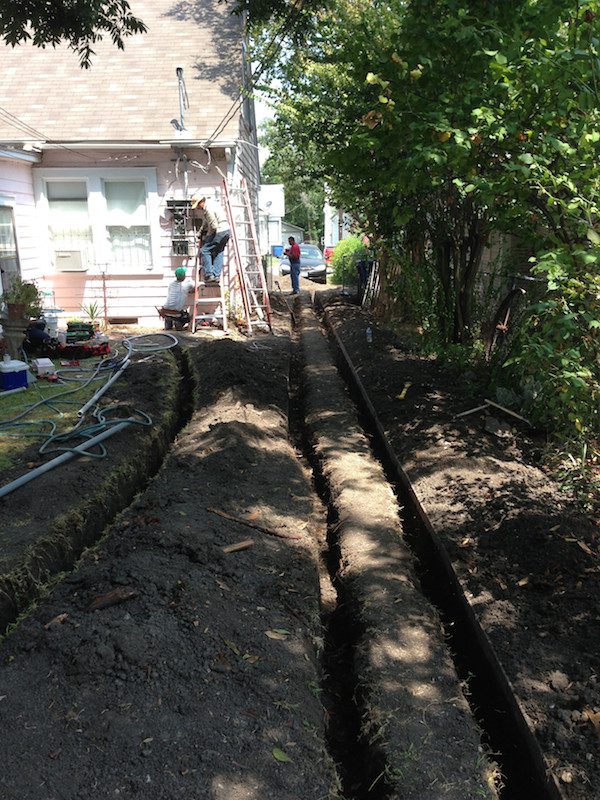
Mike said the trenching was the worst part of the reno. The left trench is for the electrical lines and had to be 18″ deep. The middle trench the water line and the right trench is for the sewer line.
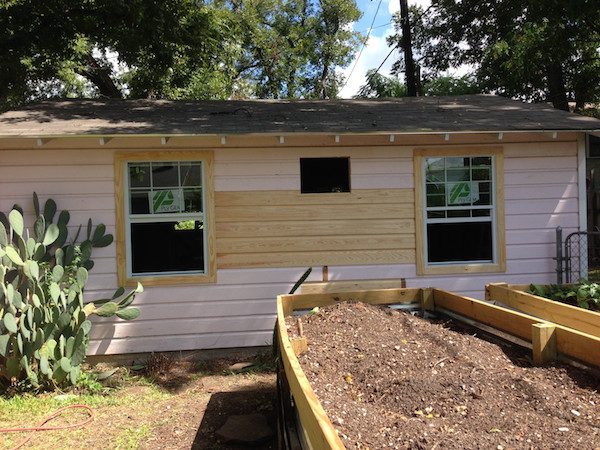
Mike found the time to build two large above-ground garden beds. He did it on his own and didn’t realize how much dirt was going to be needed, which is why the garden bed is a little bit bowed. But it’s standing and the garden is doing great. Note, the small square on the side of the garage is for the AC window unit.
Here’s the reframing getting done inside. They had to remove the cross beams on the ceiling because the beams were sagging. Mike chose to add a vaulted ceiling to make the room feel bigger.
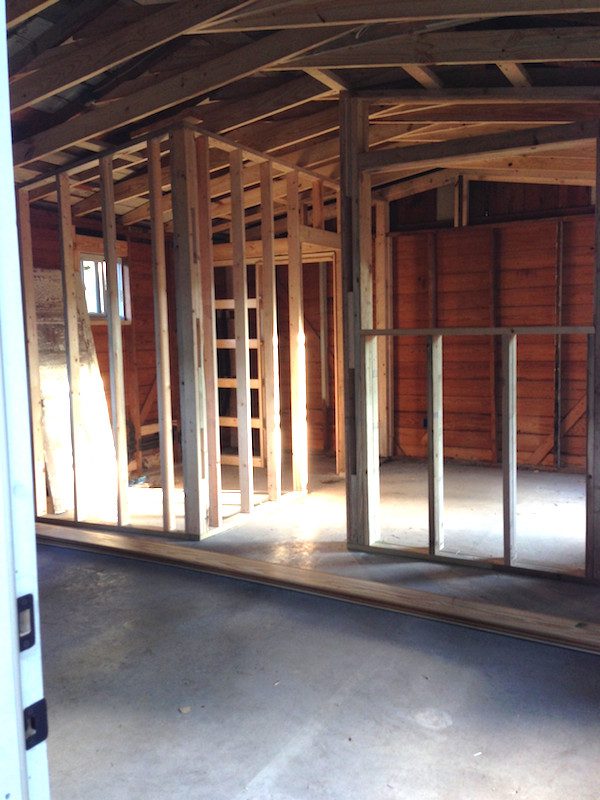
When the inside was being framed a privacy wall was installed to separate the living room and bedroom.
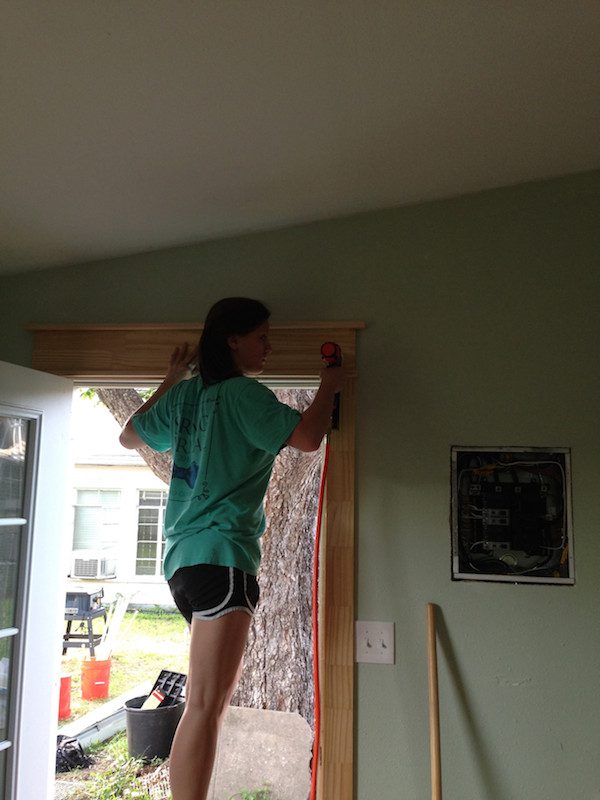
With the drywalling completed, the trim and flooring had to be done. Mike’s girlfriend helped installing the trim.
Oops. They used a spray insulation for the cracks between the windows. Unfortunately Mike “got the expanding type and it ruined one of my windows and it spilt on the floor and was a pain to clean up.”
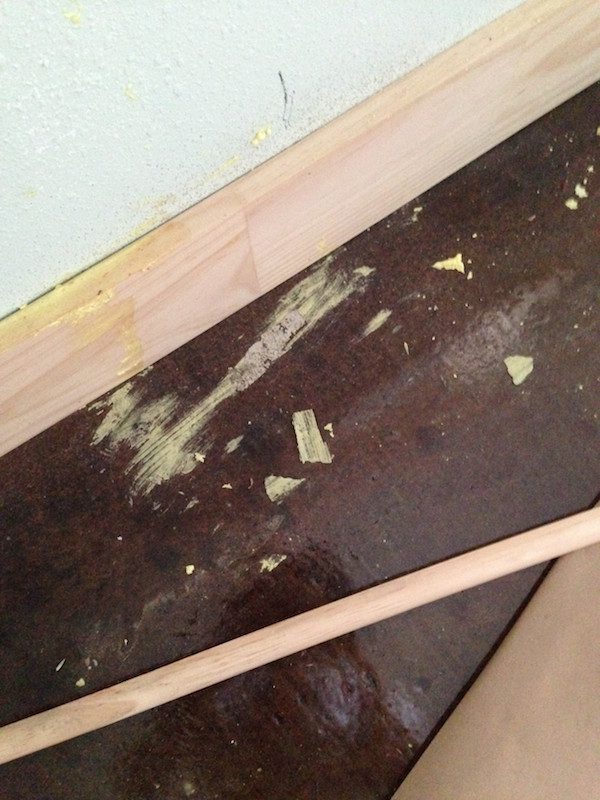
The floor is Mike’s favorite part of the house. The garage was built was on a concrete slab. Rather than installing tile, hardwood or laminate, Mike realized they could stain it. “Actually, we dyed it and it was a rather easy process,” said Mike. “We first had to get a floor maintainer and clean it really well and let it dry. Then spray the brown dye and let it sit for 24 hours. We rolled on the polyurathane with normal paint rollers and let it dry for 24 hrs and then rolled on the sealant which was rolled on too. The whole floor cost about $1 per sq ft and it looks really good and has character.”
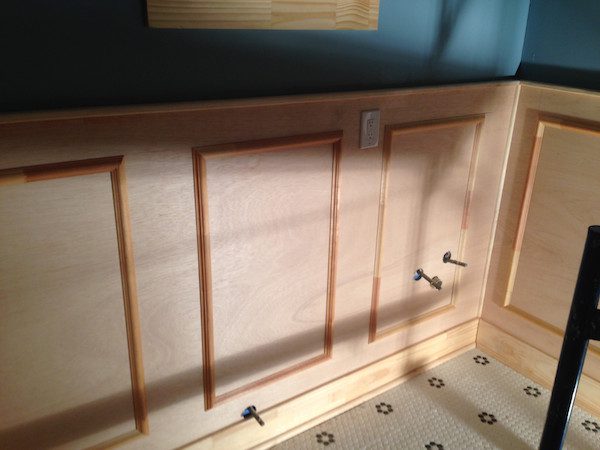
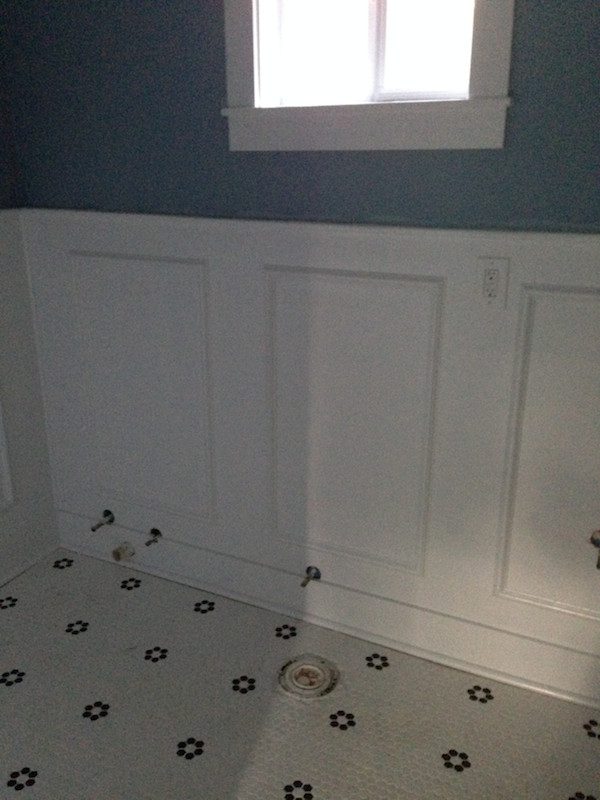
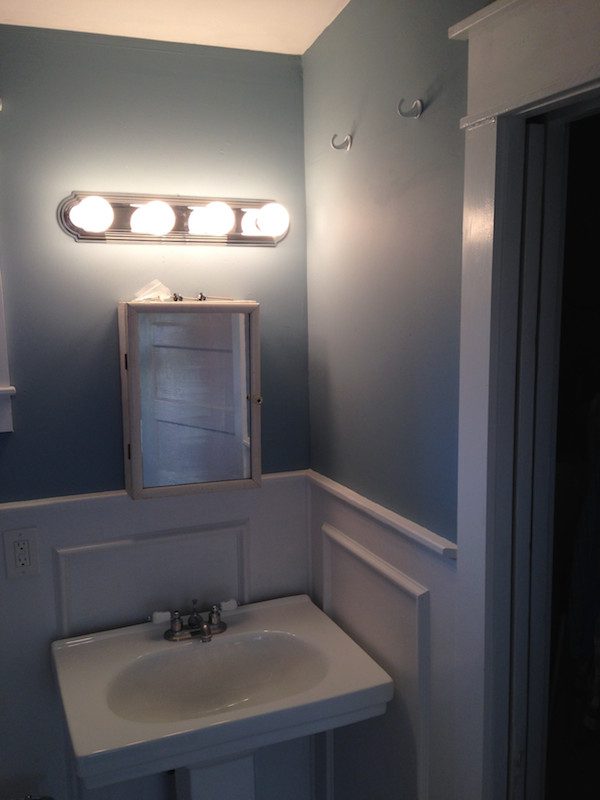
They went for a vintage look in the bathroom tiling as their main house was built in 1931. They added wainscoting (or “Judges Paneling”) on the bathroom walls.
The finished results are quite beautiful.
The tub has that old-fashioned feel. They also added a little enclave above the bath to give it “a little bit of character”.
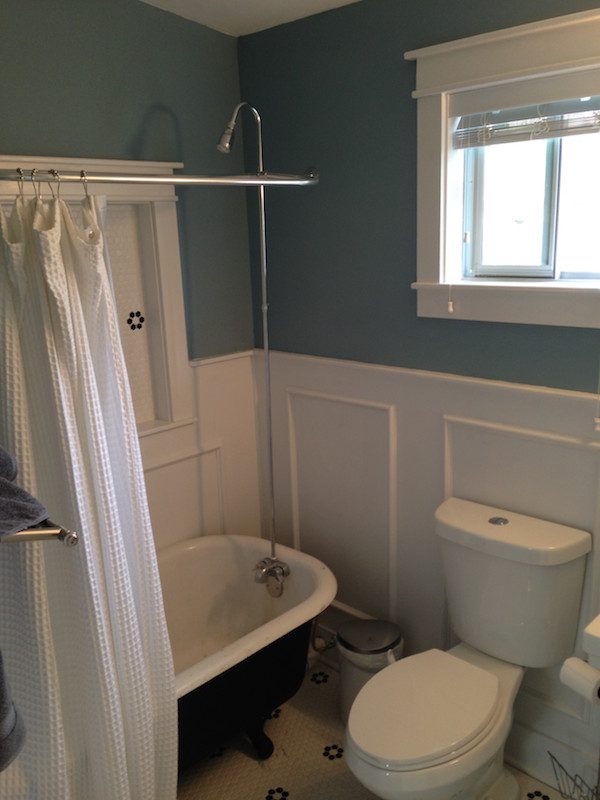
They painted the tub base and claw feet to match the floor tiling.
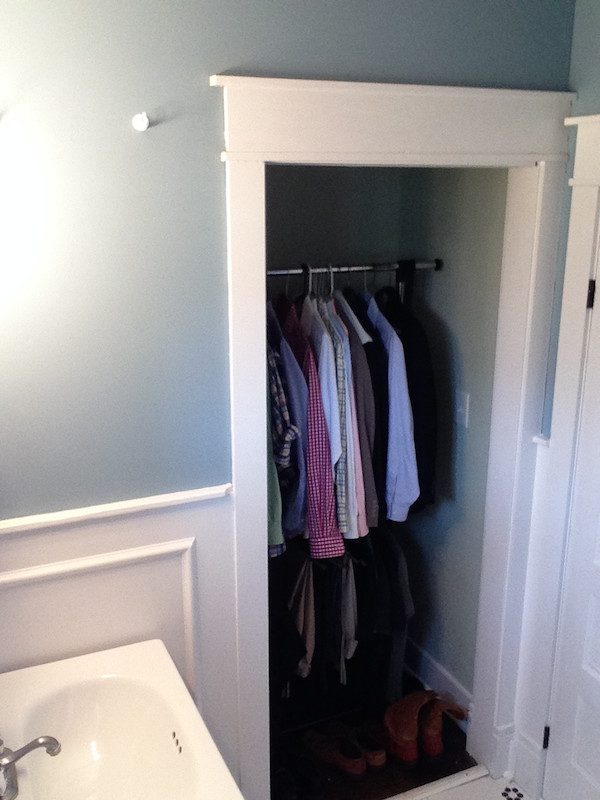
There’s also a closet with a pocket door.
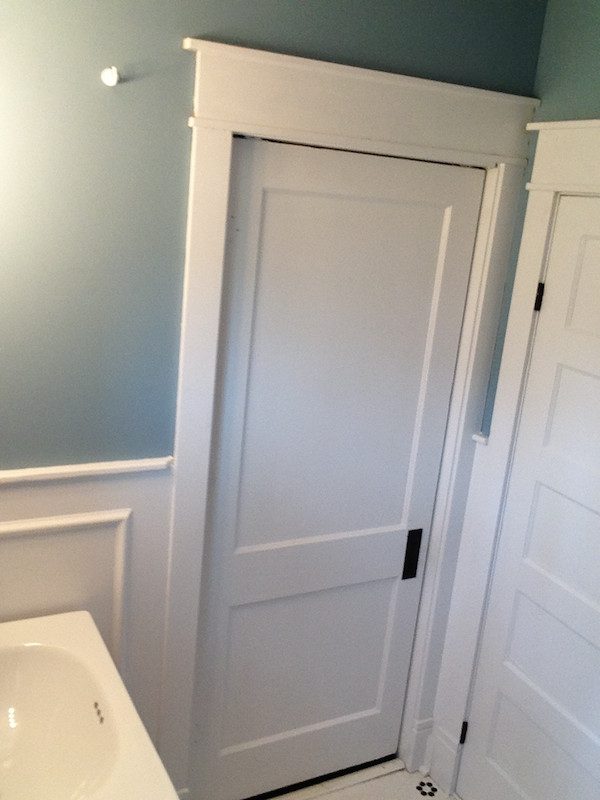
Mike added plinth blocks at the bottom of the doors. “I think they add a nice touch and I added them to all door openings.”
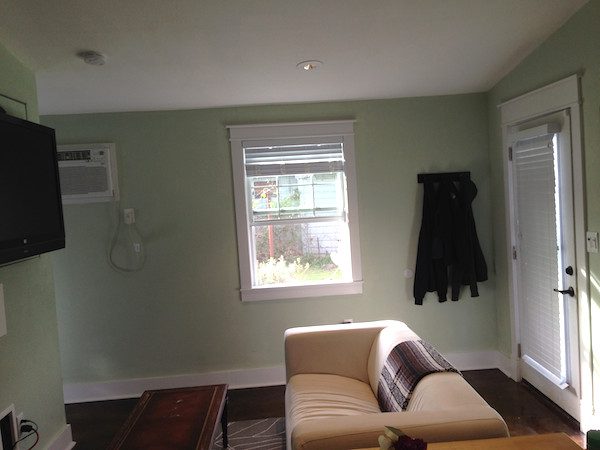
The main living room with the view to the front door. The owl picture covers the breaker box.
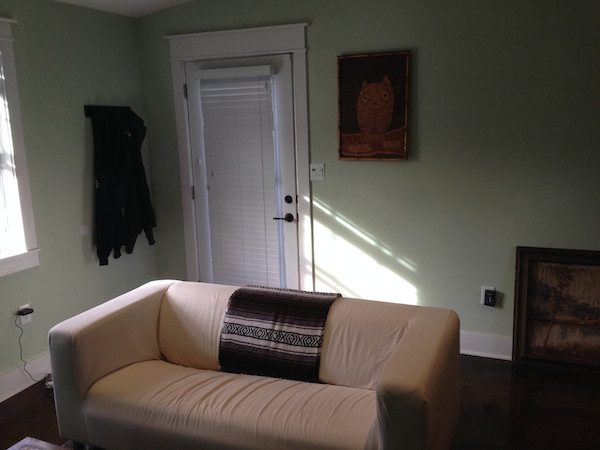
The AC unit is located in the middle of the room and the vents can be pointed in multiple directions. It doubles as a heater for in the winter.
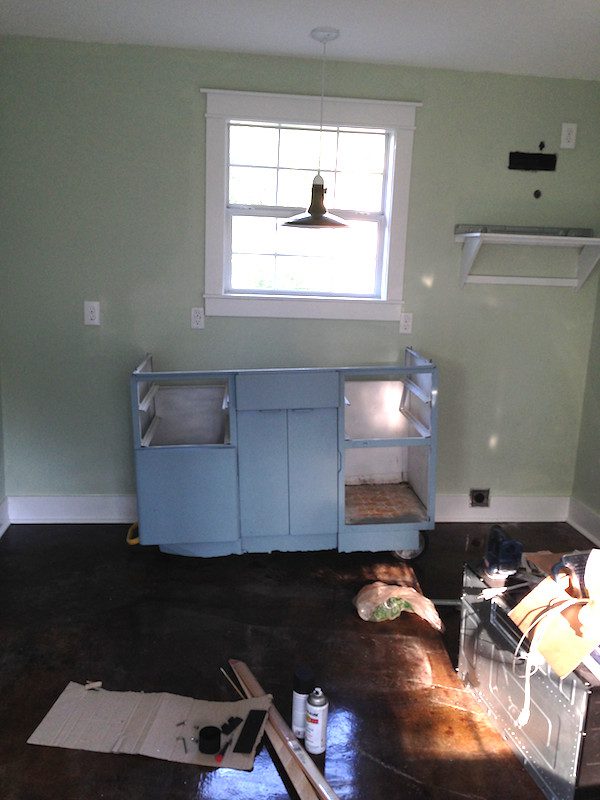
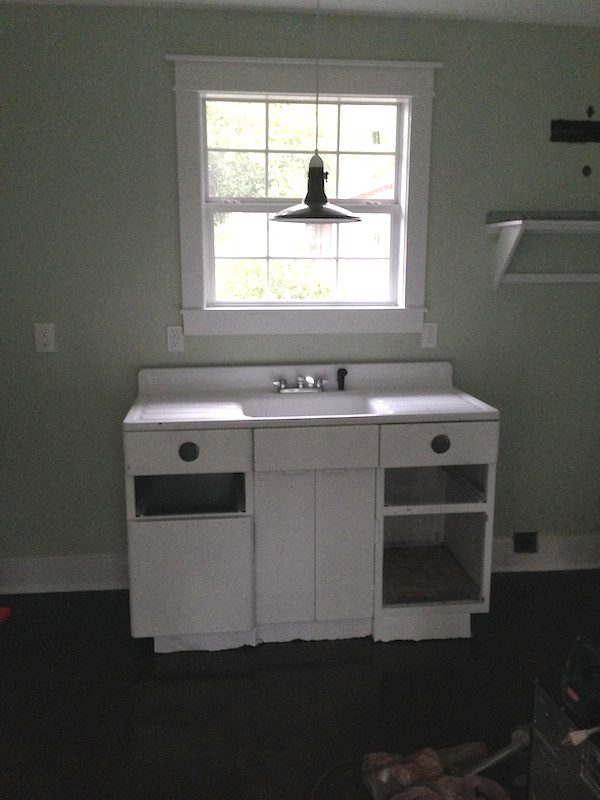
The kitchen sink cabinet was removed, repainted and then reinstalled.
That looks much better!
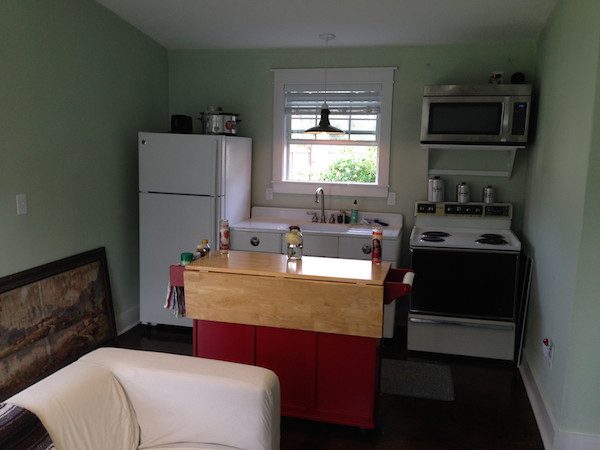
The finished kitchen. Mike found the island on Craigslist. It has a lot of storage and the back folds up for more counter space or as a table for eating.
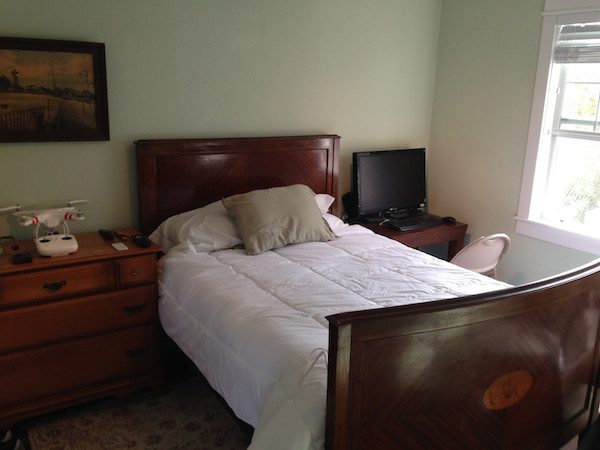
Here is the bedroom with all the furniture.
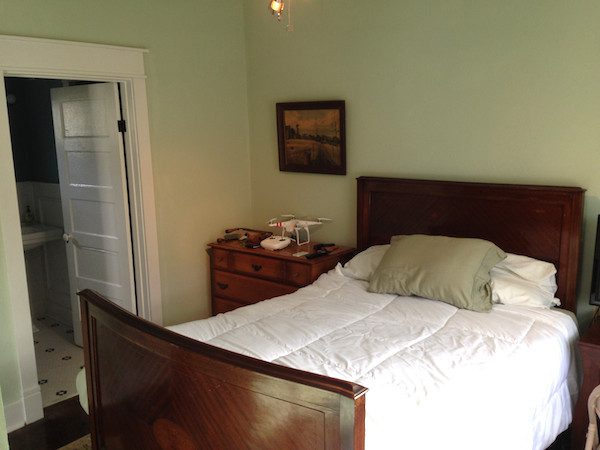
There’s space for a chest of drawers, full bed and computer table.
Remember that privacy wall between the bedroom and living room?

It fits a 47″ TV. And a panel in the wall rotates between the living room and bedroom.
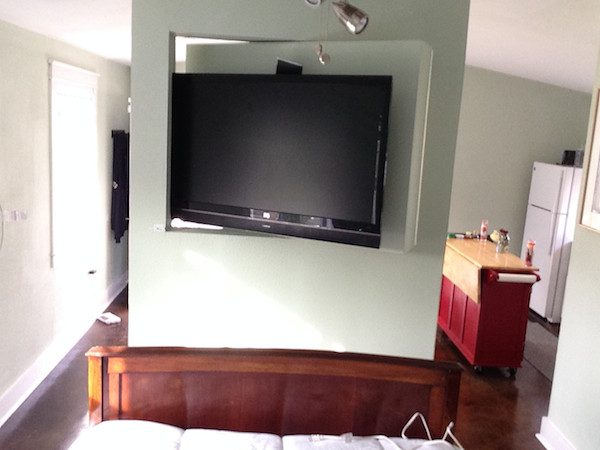
So cool!

Photos published on Reshareworthy.com with permission from Mikey McCartney.
Mike plans to possibly rent the garage out to a tenant in the future. What a great job!
Share his renovation project with your friends!
Disclosure: This post may include affiliate links.